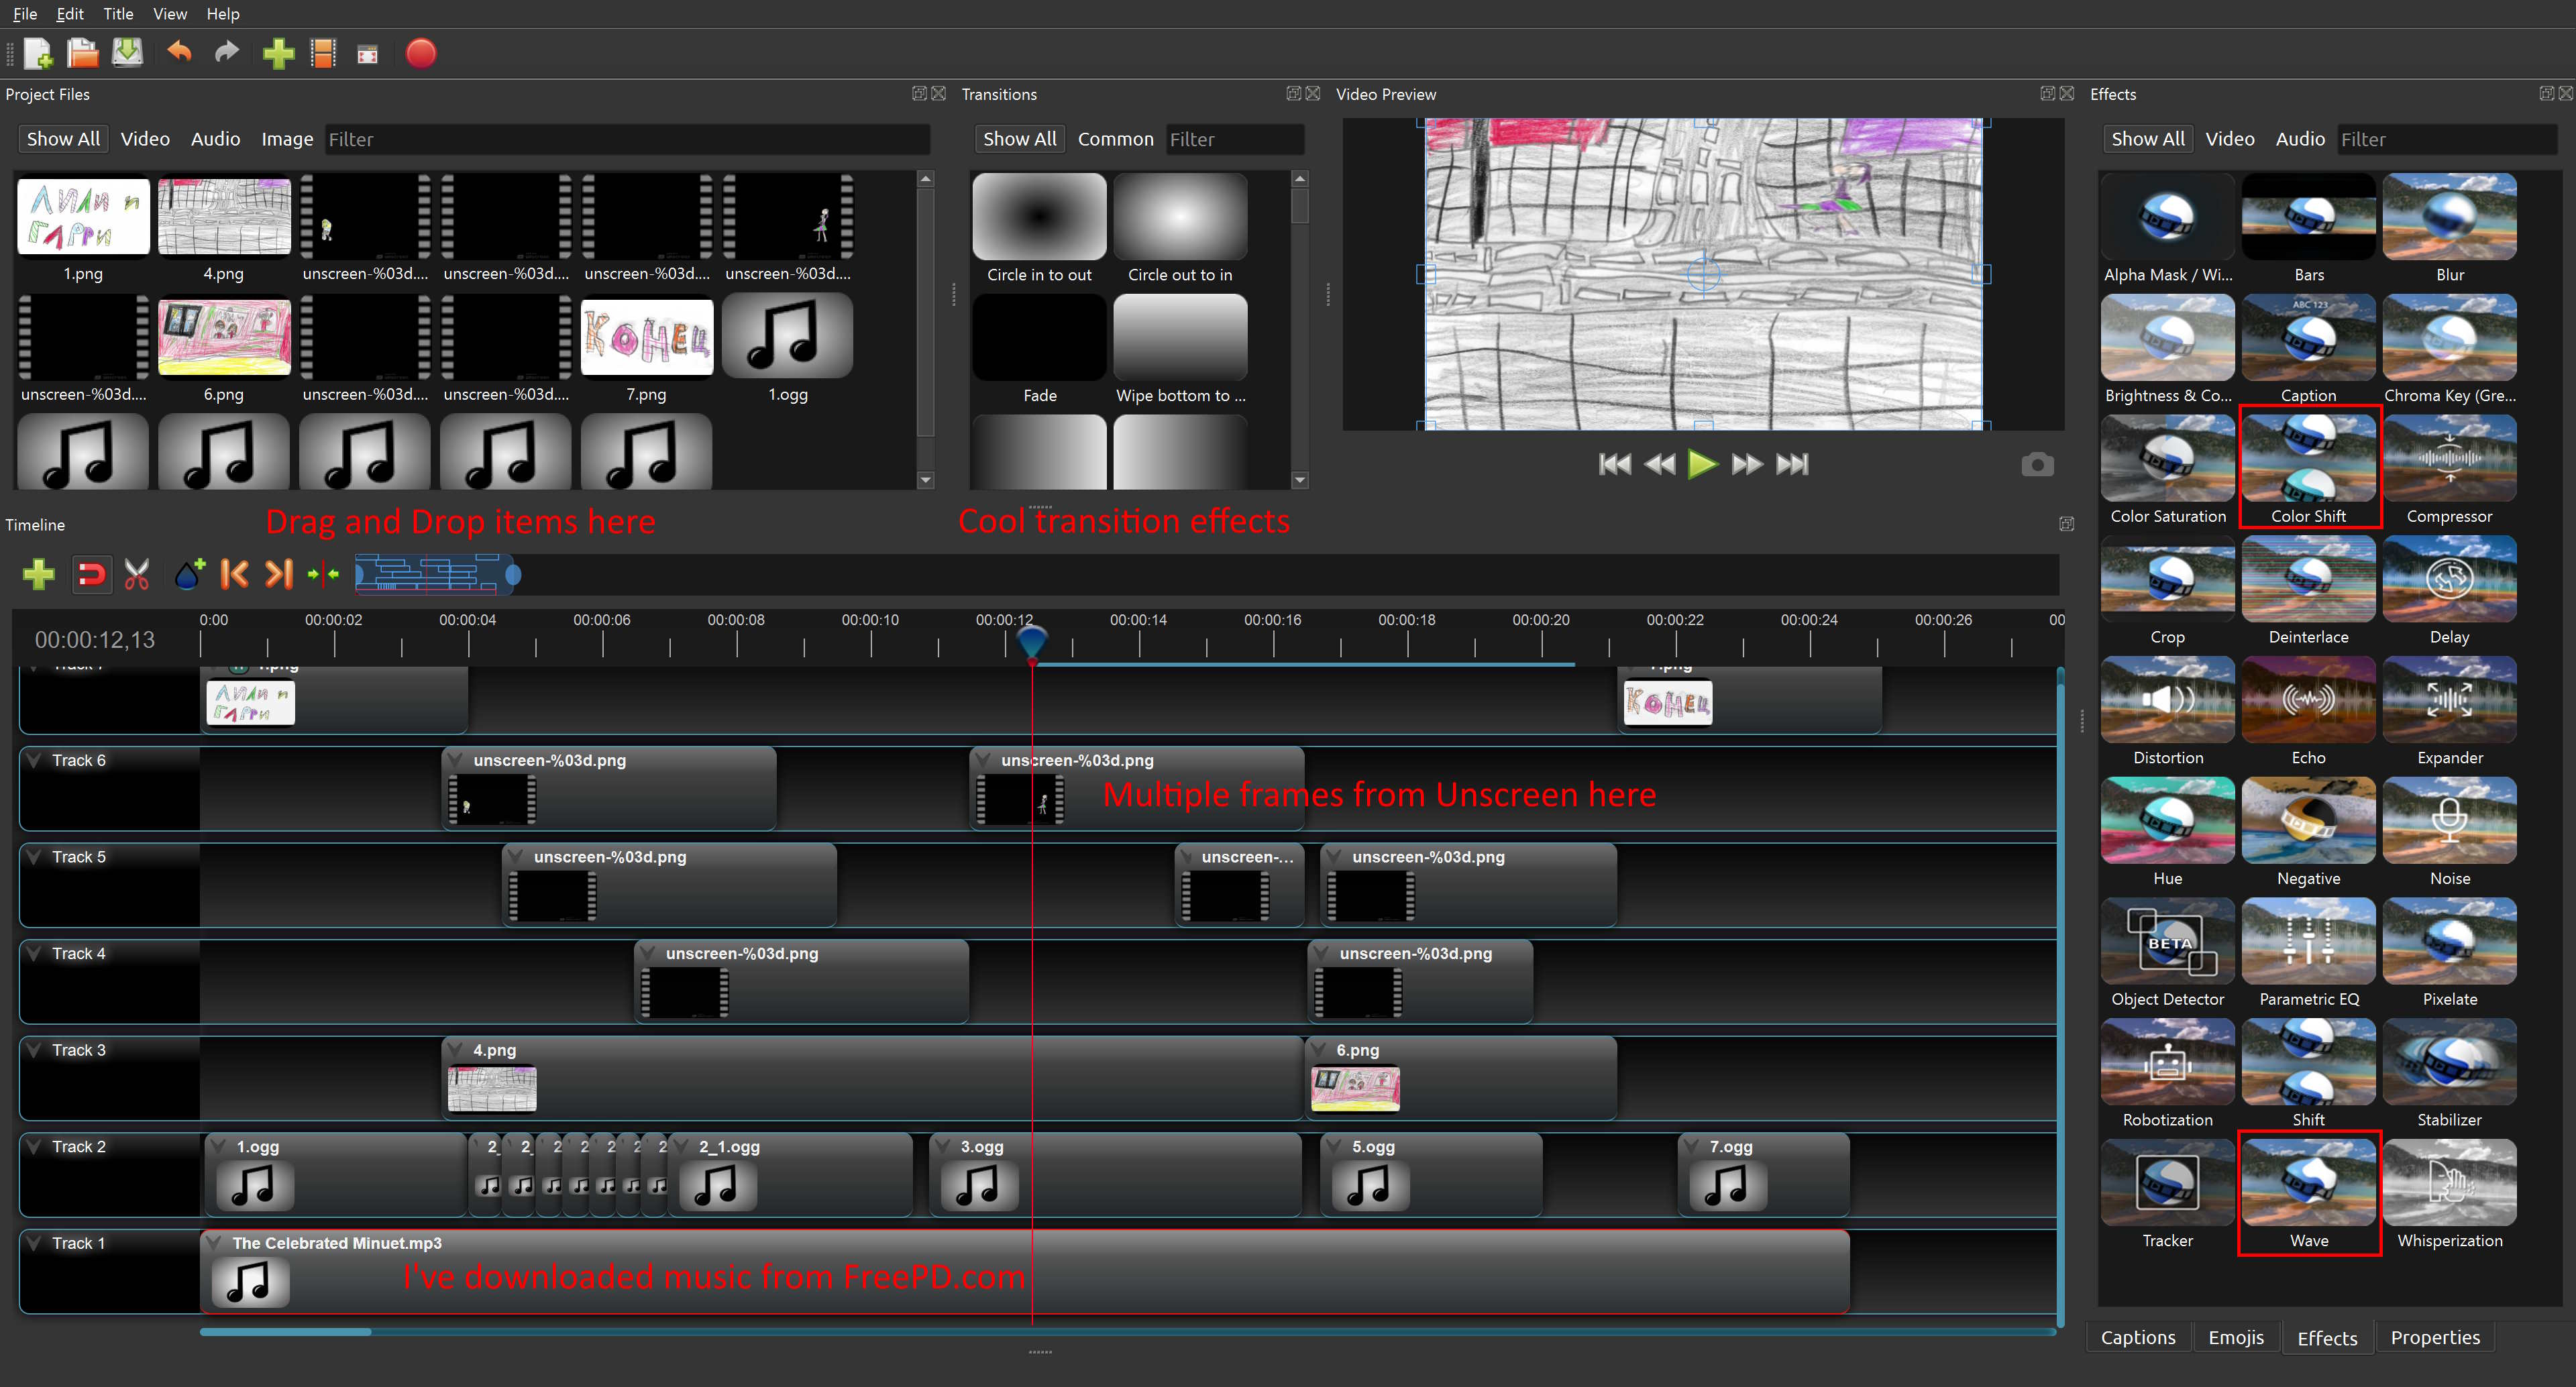
TL;DR: Scroll down if you want to see the result.
Raising children is difficult. Every day, you must answer unusual questions, be better than you are in front of your children, and teach morality and justice. And everything should be done entertainingly. Insane…
I’d like to share my recipe for making my kids happy spending just one simple evening. We make an animation film from the kids’ drawings. There is no limitation on the drawings’ quality or sanity of the picture. The more insane the picture is, the better and means more fun.
What kind of qualities does this grow? Goal making, reachability of any endeavours, that children’s works have no difference than works of grown-ups. And that imagination can make anything come true.
The essential tools we need:
The dullest part. You need to scan images, cut them, rotate them (I believe your kids don’t put enough effort into aligning them on the scanner’s glass), and resize them to the appropriate size. I want to recommend asking your children to draw characters and footage (background) separately to save your precious time. For the final size, I use any combination of $16/9$ aspect ratio. Normally, it’s $1280×720$(HD) or $1920×1080$(FullHD), but no more. Creating 4k cartoons from kid’s drawings is overkill.
Here is an example of the initial and cropped images:
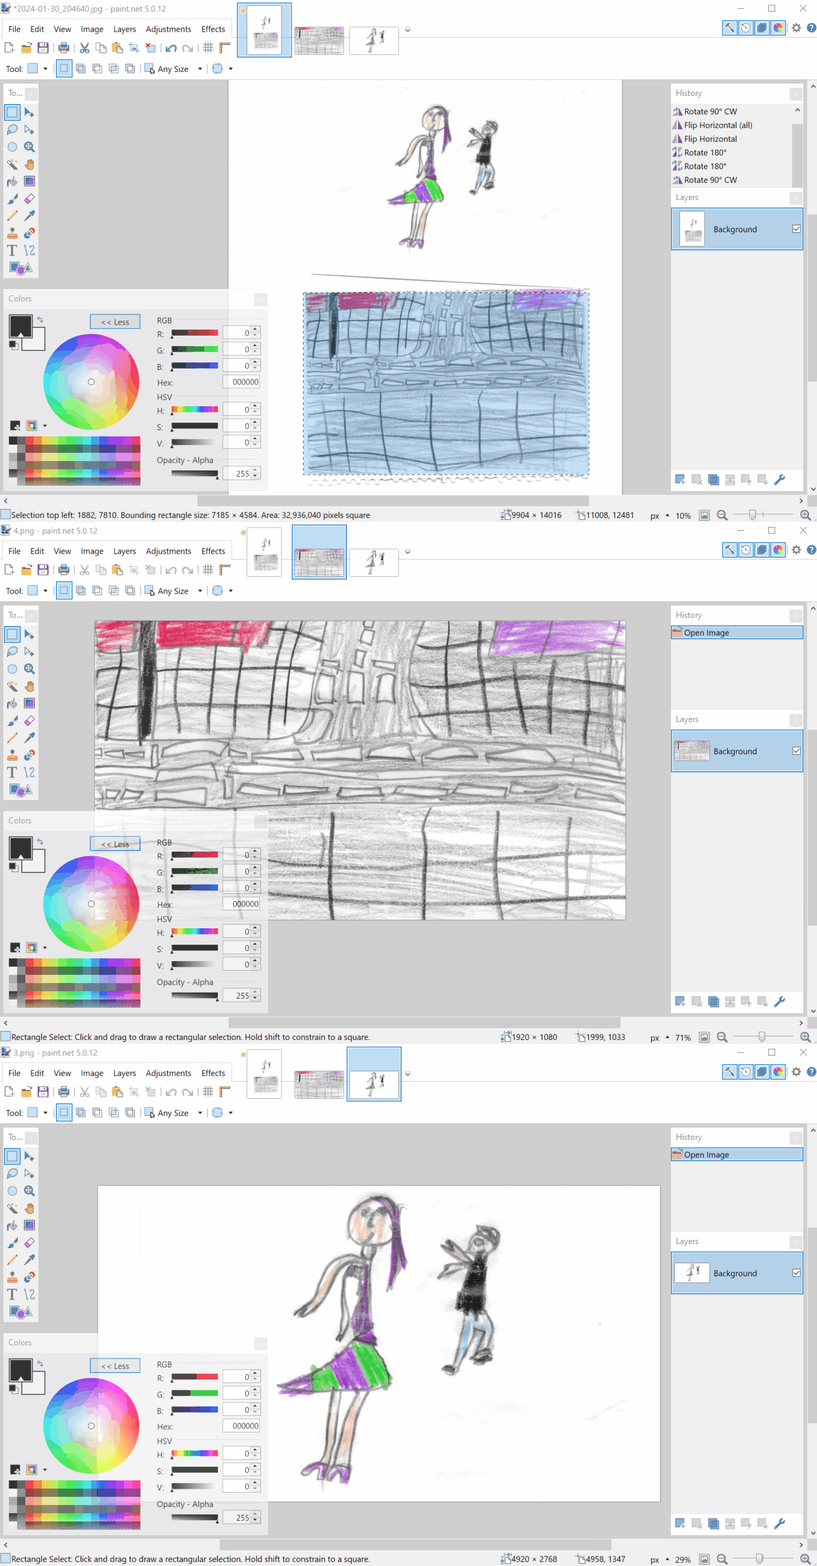
Okay, all drawings are scanned, cropped and resized. It’s time to create the first animations. This is my kids’ favourite part. The magic of making their characters live. The ANIMATED DRAWINGS website is our best assistant here. Just upload the image with a character and follow the simple instructions on the website. Advice: don’t make the mask perfect, always separate hands and legs, even if they seem inseparable — there is always a way.
Here is what we get:
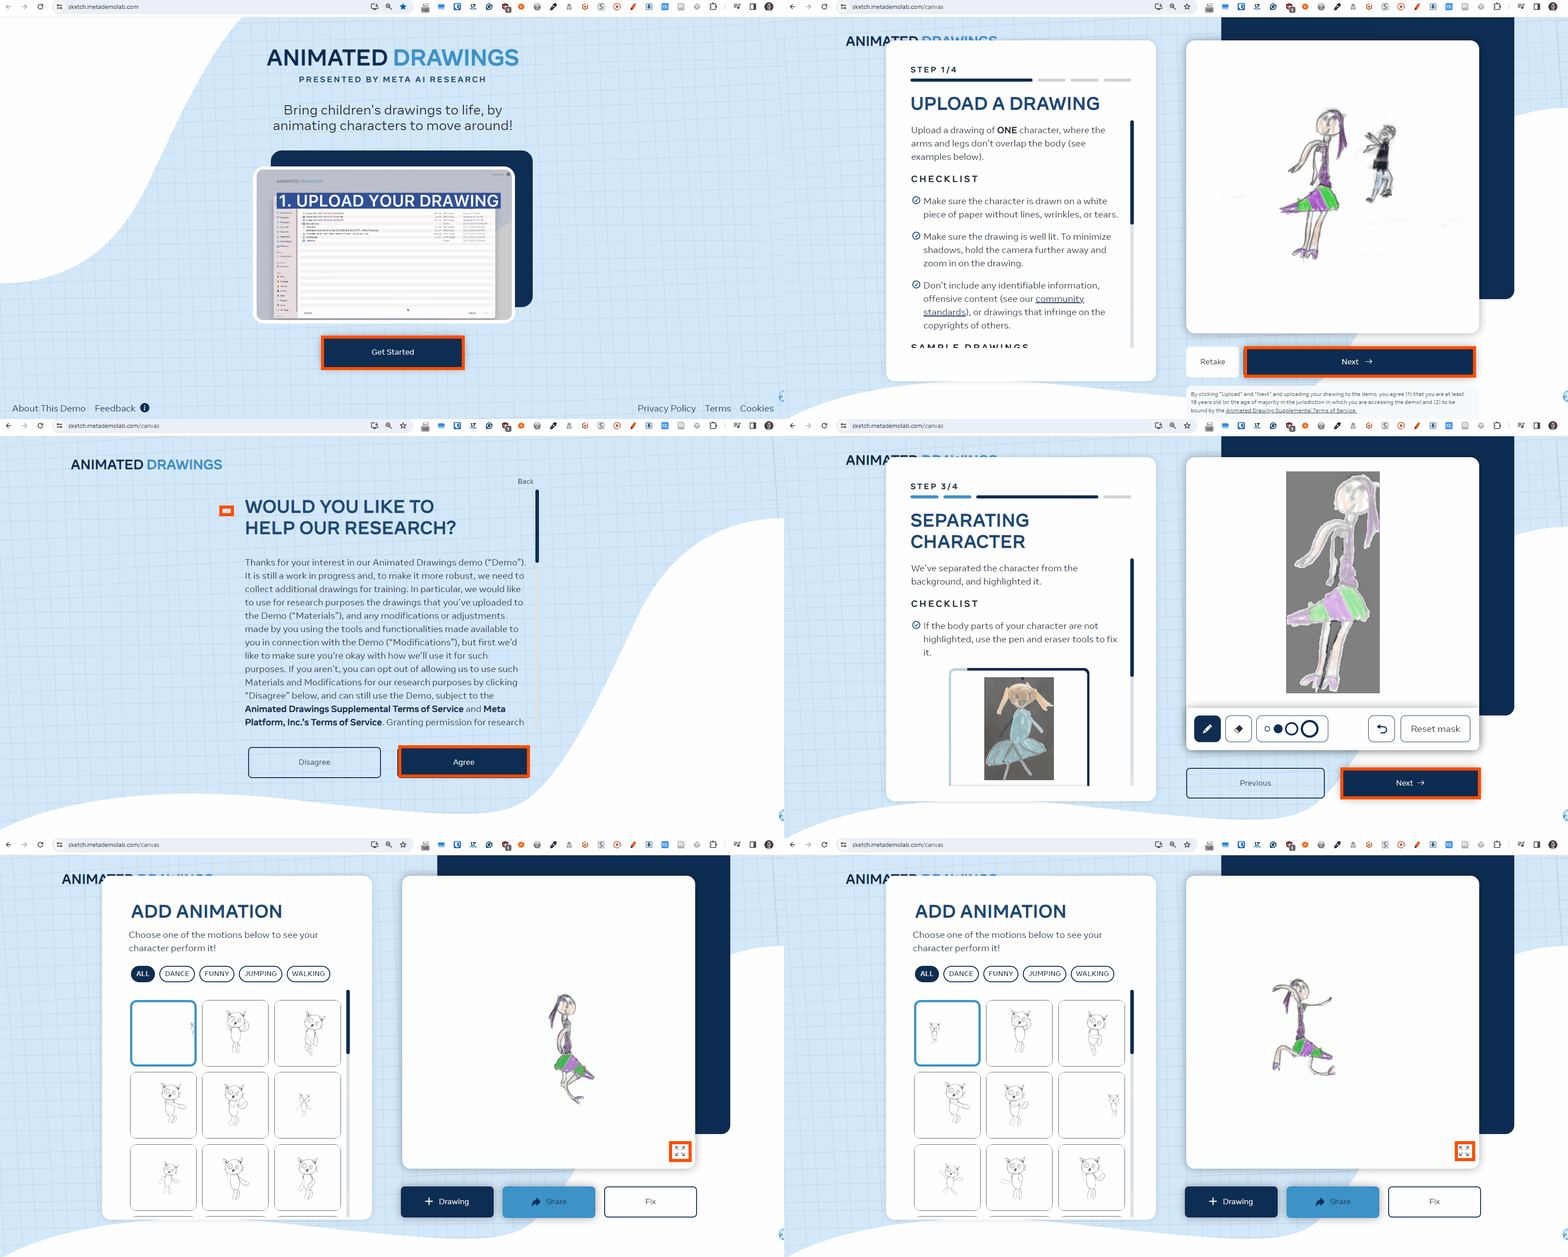
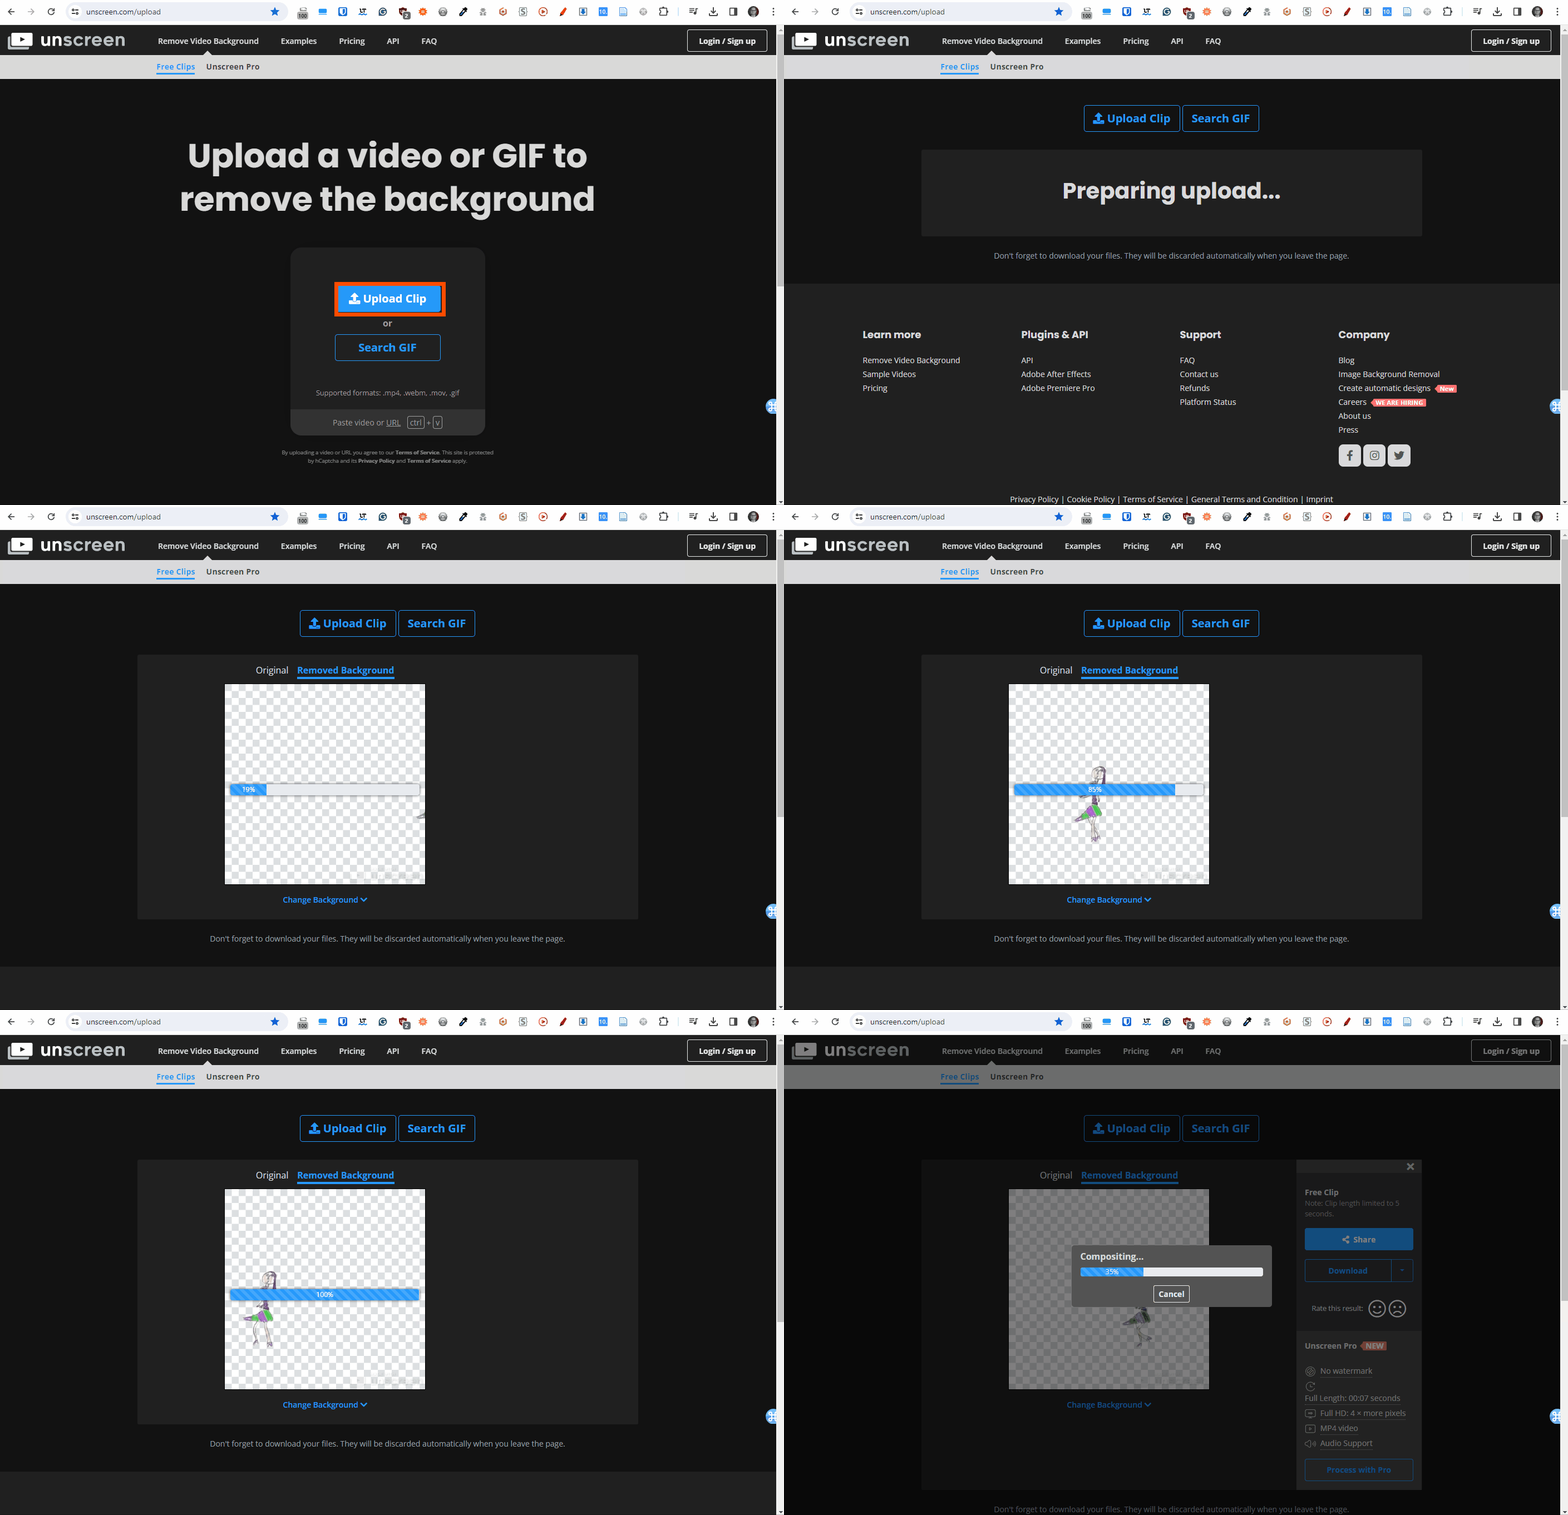
Okay, what’s next? Of course, at this point, we should start OpenShot and arrange our cut images on the timeline, but for the article, it’s better to describe each step first. Just keep in mind that you need to start creating a film timeline to be able to decide what to do next. So, in the article, our next step would be «removing the background from frames with characters to be able to put it on top of a footage frames». For these purposes, let’s go to the unscreen.com.
Remember, the free version of unscreen.com supports only 5-second long videos, so you may need to crop the video. I use Shotcut for this:
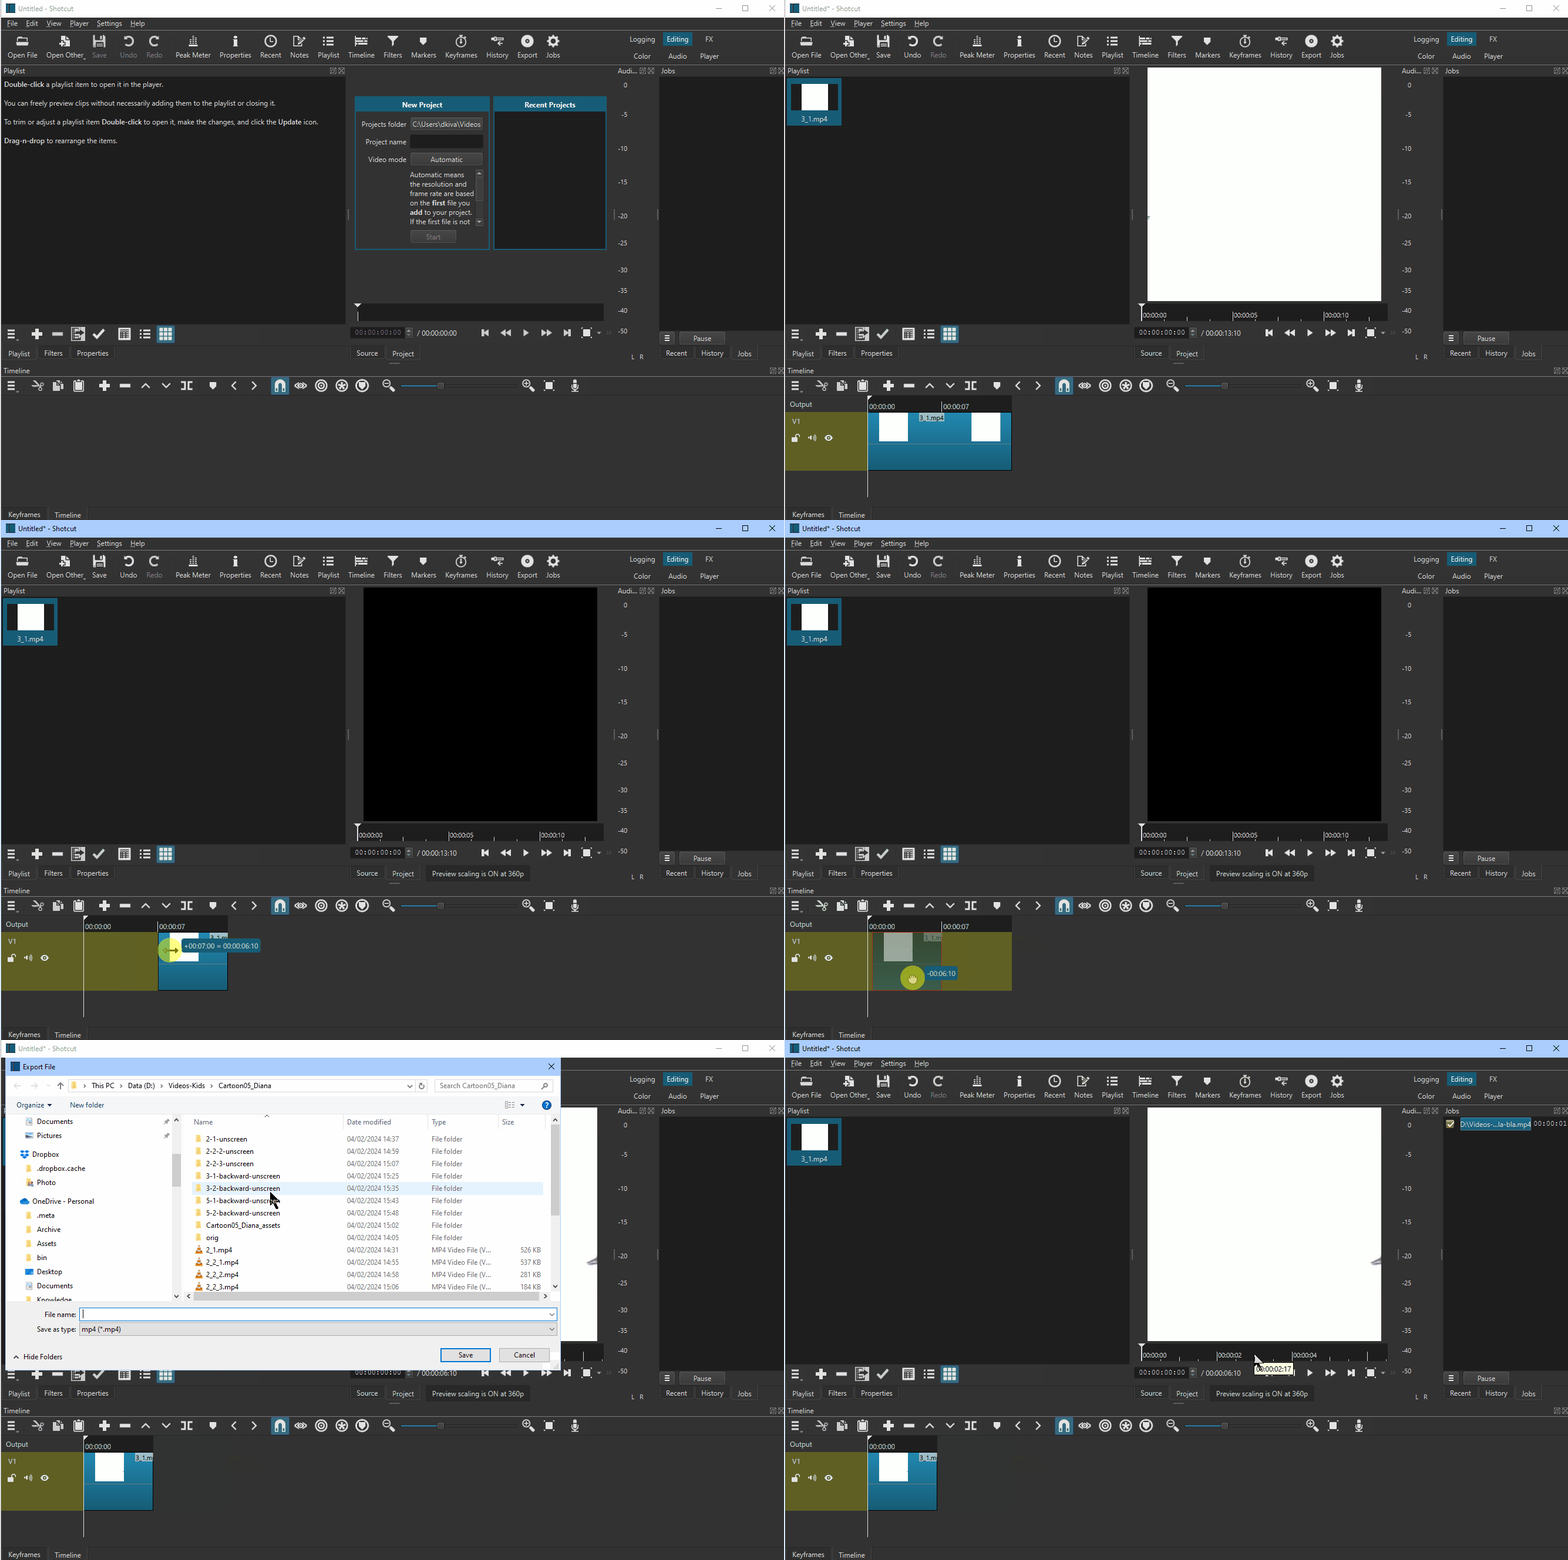
On the unscreen.com the workflow is straightforward, you upload the video, and it magically removes the background. The free version allows downloading a GIF file or a folder with N-frames. I haven’t found a way to use GIFs, so, in our case, only a set of Single Frames allows us to reach our goals.
Finally, we’ve reached the point when we compile everything using OpenShot. I’m going to show you my workflow, but the task is purely creative. To record effect sounds and narration, we’re using WhatsApp and any available music as a soundtrack (check the tools and websites I’ve put at the beginning of the article).
The key points are:
